4:37 AM
 mixagrip
Recovery Console in Windows previously existed in Windows XP then the fix in Windows Vista and Windows 7 is extended, at this time. But not all recovery systems worked well but do not worry you can perform the following ways to maximize the System Recovery using the Recovery Console.

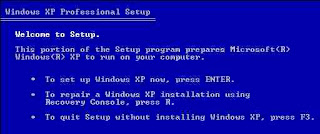
For this way you as a user of Windows 7 you can get started on the boot menu by pressing F8 or F12 on the keyboard when entering the Windows logo appears and enter your Windows 7 installation DVD on the menu before installation Widows 7 will have the System Recovery click and select Menu Command prompt .
If you use the Command Prompt you can perform the command by typing "Bootrec" there are four steps you can do using this Bootrec command.
1. BootRec / RebuildBcd -> This will automatically rebuild the Windows 7 boot menu if there have been corrupt
2. BootRec / fixmbr -> this will fix the master boot record (MBR) on hard disk
3. BootRec / fixboot -> this will write a new boot sector to your hard disk. This is useful if you have a corrupt boot sector is damaged.
4. BootRec / ScanOs -> will move the hard disk to the operating system that may not currently appear in the boot menu, for example when a computer is installed 2 OS sometimes on your boot menu OS selection menu does not appear you can do by typing this command at the Command prompt window.
In the next command if you want to delete the boot menu and you can rebuild the boot menu from scratch, you can do with the following command.
c:
boot cd
BCD attrib-s-h-r
ren c: \ boot \ BCD bcd.old
BootRec / RebuildBcd
from way above you can solve problems in your windows 7 easily and quickly.
 Posted in
Windows 7
Posted in
Windows 7